AWS OpenID database access via Okta
Note: This feature is available in Enterprise, AWS, Team editions only.
Table of contents
Overview
CloudBeaver allows for database connections through AWS OpenID with Okta authentication. This guide details the process for establishing such connections. Please ensure you meet all the prerequisites outlined below before proceeding with the configuration steps.
Prerequisites
- AWS OpenID Configuration: An active configuration of AWS OpenID is necessary. This includes a properly set up AWS account with OpenID Connect enabled. Additionally, ensure the account has the required permissions to create and manage identity providers and roles.
- Okta setup: Access an Okta account with the necessary permissions to configure applications.
CloudBeaver administrative access: Ensure administrative privileges in CloudBeaver.
Configuration steps
Create an Application in Okta:
- Initiate the process by creating an application in Okta. For detailed steps, consult the official Okta documentation on application creation.

Add Identity Provider in AWS IAM:
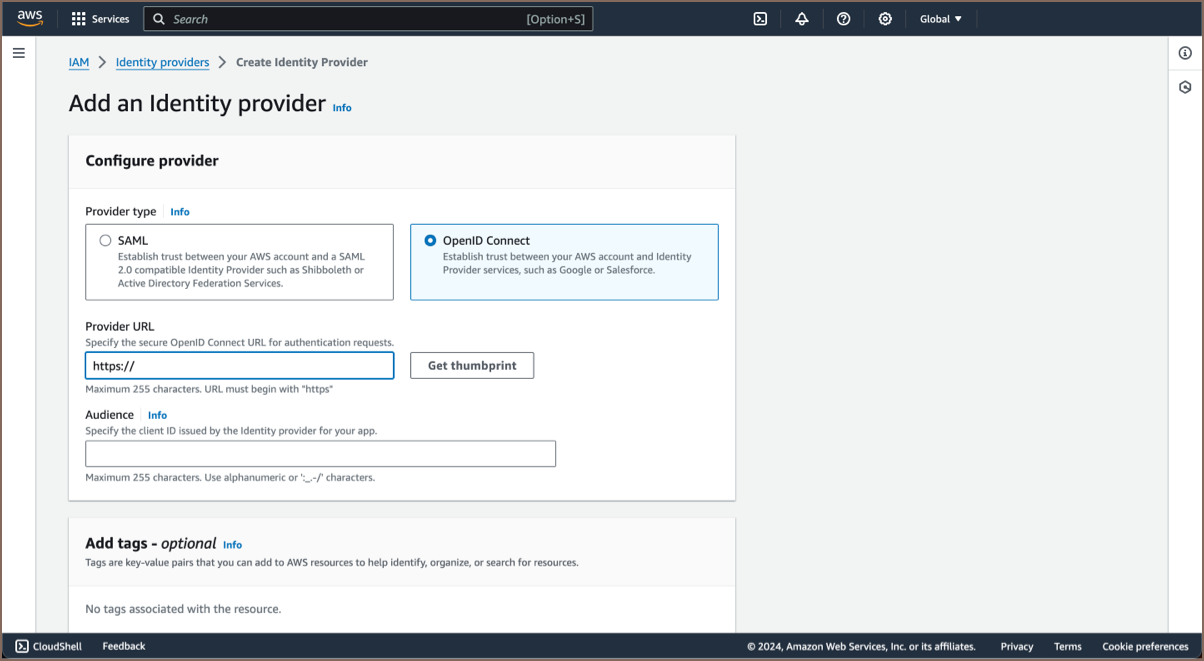
- Add an identity provider in AWS IAM. This allows AWS to authenticate users managed by Okta. For comprehensive instructions, refer to the official AWS documentation on identity providers.

Hints for AWS IAM Identity Provider configuration: >- Provider URL: Use your Okta domain, for example,
your-domain.okta.com/. >- Audience: Enter Okta's client ID, which can be copied from the application created in Okta.
Configure a Role for Web Identity in AWS:
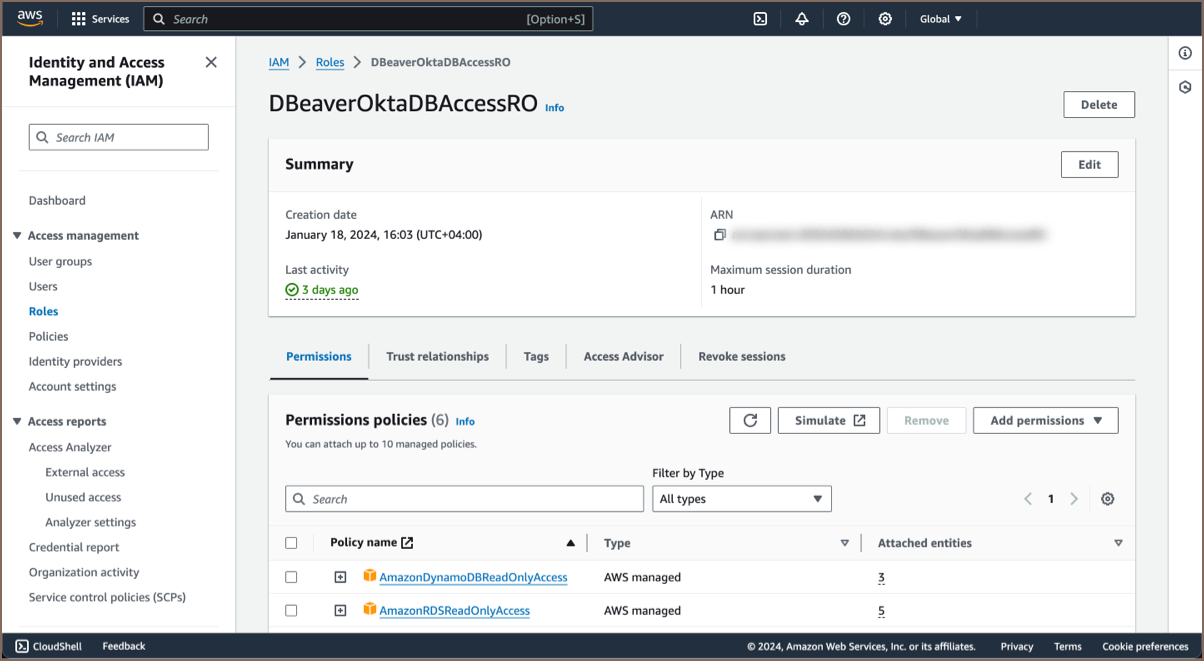
- The next step is configuring an AWS role for web identity. This role will be used to grant permissions based on the authenticated identity from Okta. For a detailed walkthrough, visit the official AWS documentation on creating roles for identity providers.

- Log in to CloudBeaver as an Administrator.
- Enable AWS Services and AWS OpenID Provider:
- Navigate to Settings -> Administration -> Server Configuration and select the checkboxes for both AWS and AWS OpenID.
Configure Identity Provider
- Continue to Settings -> Administration -> Identity Providers.
Click on the + Add button to begin configuring a new identity provider.

Below is the table with fields to be completed for configuring the identity provider:
| Field | Description | |
|---|---|---|
| Provider | Select AWS OpenID from the dropdown menu. | |
| ID | Enter a custom name for the identity provider. | |
| Configuration name | Specify the configuration name. | |
| Description (optional) | Provide a brief description of the identity provider. | |
| Icon URL (optional) | Enter the URL of an icon to represent this identity provider in CloudBeaver. | |
| Client ID | Use the Client ID from the Okta application. | |
| Client Secret | Use the Client Secret from the Okta application. | |
| IDP auth endpoint URL | Format as https://{okta_domain}/oauth2/v1/authorize. | |
| IDP token endpoint URL | Format as https://{okta_domain}/oauth2/v1/token. | |
| Role ARN | Enter the ARN for the WebIdentity role from AWS. |
> Important: The Role ARN added during this step acts as the default role. It's not advisable to use an > administrator role at this step. It is recommended to use a role with minimum privileges during provider setup. > After the provider is configured, you will see an AWS Role ARN field for each user, where > you can specify a role with higher privileges, if necessary.
- After filling in the fields, click on the Create button to complete the identity provider configuration.
Copy Redirect and Sign out Links:
- Enter the newly created identity provider.
- Copy the Redirect link and the Sign out link.

Update Redirect URIs in Okta:
- In your Okta application, navigate to General -> Login.
- Under Sign-in redirect URIs, paste the copied Redirect link.
- In the same section, locate Sign-out redirect URIs and paste the Sign out link there.
- Click Save in Okta to finalize these configurations.

Now you can log in through the newly created Federated authentication method in CloudBeaver, using the Configuration name you assigned during the setup.

Verify the Integration of AWS OpenID and Okta
- Once logged in, click on your username in CloudBeaver and navigate to the User Info tab.
- Here, you should see two tokens. Their presence indicates that the integration of AWS OpenID and Okta has been successfully completed, and CloudBeaver has access to the necessary credentials.

Following successful login, you can access the databases listed in Cloud Explorer that are integrated with your AWS account.
